Another Day

a collection of thoughts, happenings, dreams and inspirations

  • Home
  • About

Early Childhood :: Bonting

October 29, 2016 | Leave a Comment

shirley hughes collection

I’ve been really conscious that in our day to day life with Marlin, there isn’t the same natural level of handwork in the form of stitching and sewing happening around him as there was with Chilli at his age.

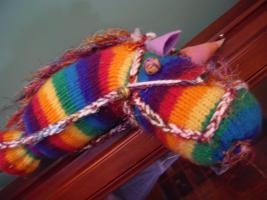
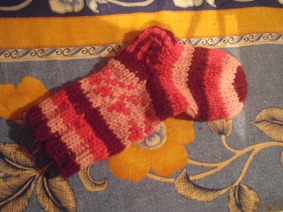
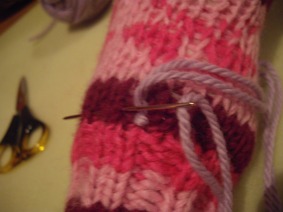
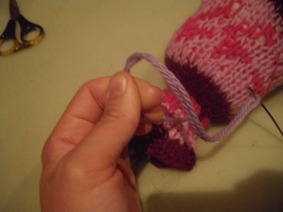
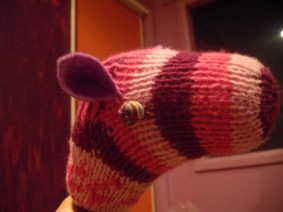
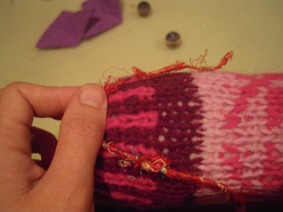
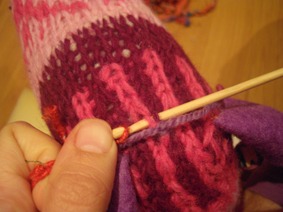
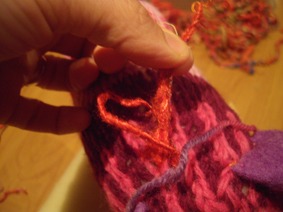
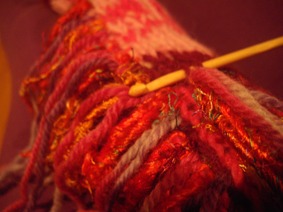
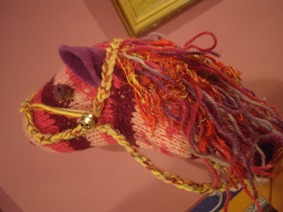
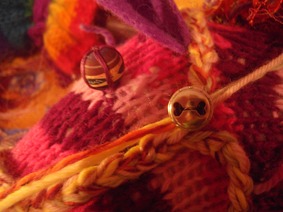
With Chilli being our first child, I was naturally more available to spend days crafting and creating. Being a new Mum and a new family, I was creating toys for our child to play with. Days were spent turning old woollen socks into hobby horses, sewing felt animals, making story dolls and knitting farmyard scenes. Now obviously, our toy shelves and draws are filled with these things 9 years on and I don’t have the need to create these any more. Marlin therefore, doesn’t have this same natural level of handwork around him. Chilli obviously has a handwork program for her schooling, but it goes through cycles. Through Grade 1 it was heavily knitting based, this year in Grade 2 we have progressed to crochet and next year we’ll be working more with fibre crafts like spinning and dying wool. Marlin, just like Chilli did at this age, immerses himself in his own ‘handwork’ – wrapping wool around a thick wooden knitting needle, doing a little bit of assisted basic weaving or sewing through a piece of felt. Next year I will most likely start him on finger knitting, once he is ready. Chilli started finger knitting around 4 years of age. As Marlin enters this second half of three years old, I’m seeing many of the crafty interests that budded in Chilli in later early childhood, start to blossom in him as well. During one of Chilli’s school lessons this week, he set about organising supplies for felting and made a little felted piece of material which he then sewed together into what he told me was a ‘jacket’ for his Christmas Elf.

shirley hughes collection

shirley hughes collection

Yesterday for midday rest we read the Shirley Hughes story ‘Bonting‘. Alfie finds a rock and asks Mum to make some clothes for his new friend. He finds a little box to sit Bonting in and Bonting becomes a dear friend.

shirley hughes collection

shirley hughes collection

shirley hughes collection

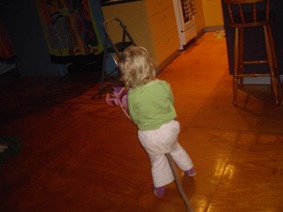
Marlin was having one of those pouty, walk around and be generally unhappy with the fact that Sissa had school to do, days! “Ma boooorrred” he would say. He was totally uninterested in any of my suggestions or attempts to engage him with anything and he decided to spend a large part of the day laying on the trampoline, basking in the springtime sun. Anyone who homeschools with a younger, early childhood aged child will understand these occasional days that happen – no matter what you try, nor how organised you are. A good dose of boredom is, I believe, good for children every so often! Chilli tells Marlin “Only boring people get bored Marlin”, one of those generational sayings that get passed down whether you like it or not, from your own childhood!

shirley hughes collection

shirley hughes collection

shirley hughes collection

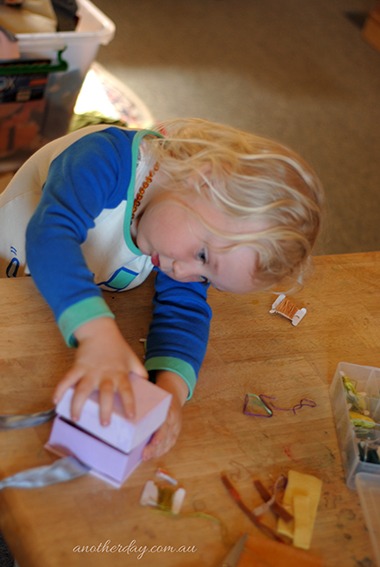
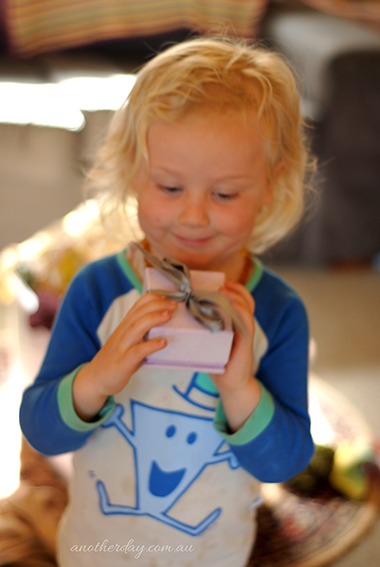
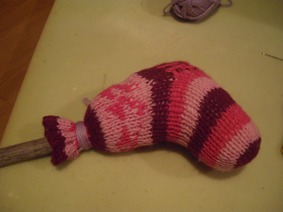
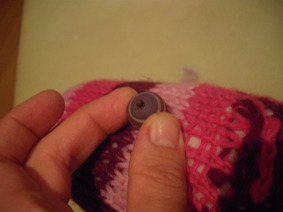
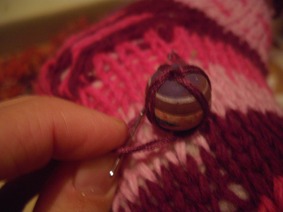
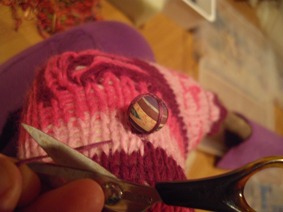
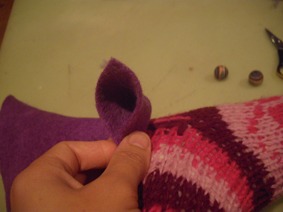
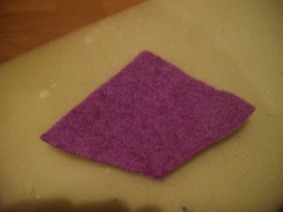
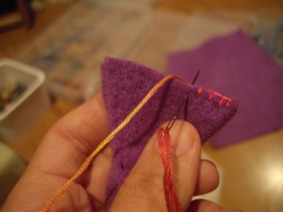
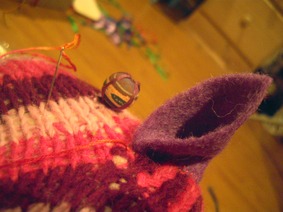
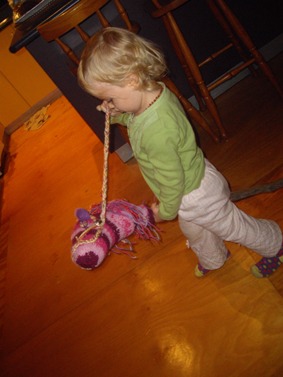
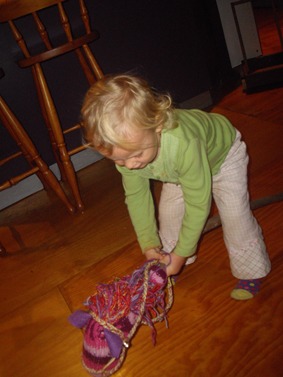
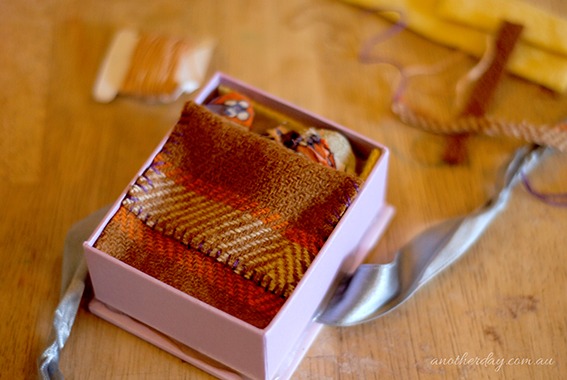
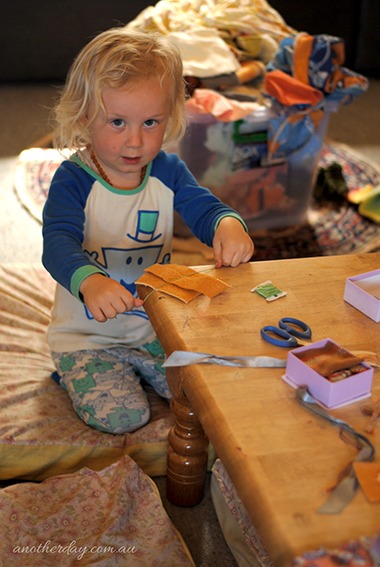
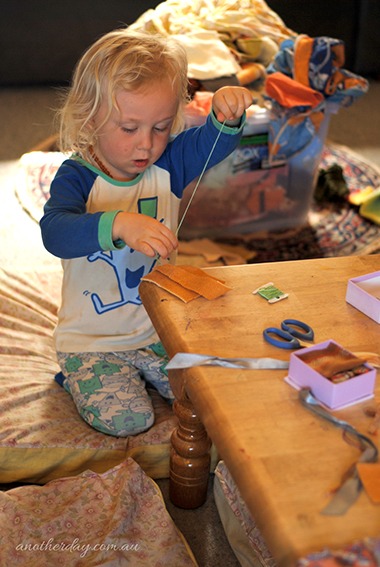
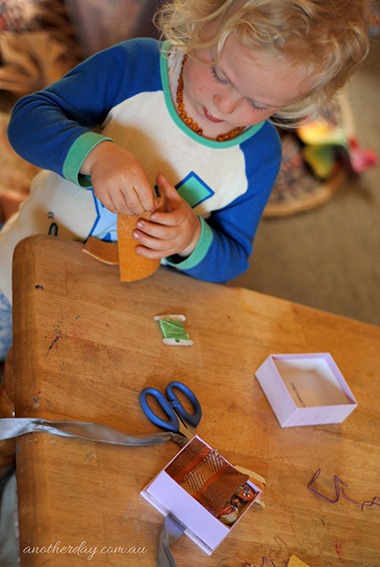
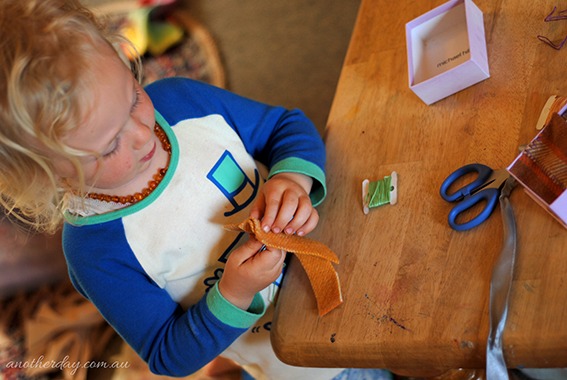
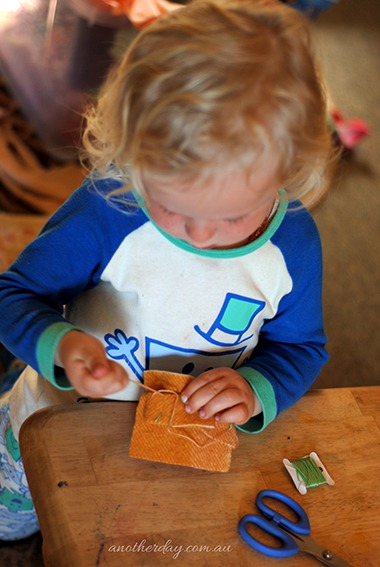
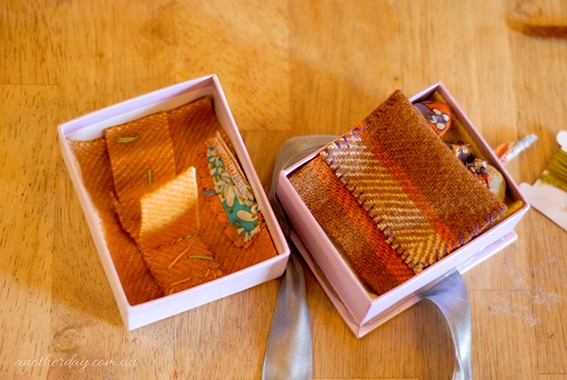
While I set Chilli up with her afternoon lesson, Marlin set about finding a ‘Bonting’ in our ‘rock pit’. Once Chilli was working independently, Marlin and I pulled down the fabric box and set about sewing him a Bonting. He’d selected three friends, who he named; ‘Bonting’, ‘Haiti’ and ‘Gruffalo’. It was a lovely opportunity to sit with Marlin and create something special for him. I sewed on the beanie, scarf and bathing suit from the fabric he selected and we found a sweet little ‘bed box’ for the new friends. Marlin decided they needed a roof so the rain wouldn’t come in and then the roof needed a light hanging off it. He was able to sew this part himself and I added a few more stitches to hold it all, more tightly together. After the addition of the light, they needed a light switch and then the switch needed a cover so as the friends didn’t get electrocuted when it rained! I kid you not! He really is such a boy! Their minds just work in totally different, ‘engineering’ style ways. Chilli would never have thought of the electrics with this much detail. It probably won’t surprise you that Marlin’s most common dough modelling item is a generator!

shirley hughes collection

shirley hughes collection

Stories really are such magical worlds aren’t they – that open up endless possibility for imaginative play and creating.

What are your favourite ‘stories breathing into real life’ moments?

Filed Under: Early Childhood, Handwork Tagged With: shirley hughes, shirley hughes bonting, shirley hughes collection, shirley hughes nursery collection, storybook crafts for preschoolers

Handwork :: Hobby Horse Tutorial

July 8, 2015 | Leave a Comment

… Here’s a post from the archives in the days of an old blog I wrote many moons ago – Where Wild Strawberries Grow …

wpid-IMGP0022-2010-04-6-10-04.jpg
:: Chilli’s rainbow hobby unicorn ‘Aura’ – Mummy has a matching hobby unicorn, ‘Serendipity’ ::

I have promised a few folk I would put together a ‘how to make a hobby horse’ tutorial. Before I begin I need to credit the inspiration for our first hobby horse – a dear friend Naomi, who offered words of advice on how to fashion a hobby horse when I commented on the one in her son’s play things. Thank you Naomi for your inspiration and guidance. I also need to say in advance that the photos are not of great quality, our camera was on it’s last legs over Easter and during the making of this hobby horse. Hopefully however, the images, as poor quality as they are, will assist in supporting the instructions a little.

Materials needed;
• a nice shaped bush stick quite thick so it will not break with being ‘ridden’
• an old woollen sock (holes in toes and heels are even better!)
• clean, carded sheep’s wool
• yarn and embroidery floss for stitching
• yarn for hair/mane
• yarn for reins
• two wooden buttons for eyes
• woolen felt for ears/unicorn horn
• two bells (three if you have a unicorn horn)

Construction;

wpid-IMGP4183-2010-04-6-10-04.jpg
• File and sand off any knots etc on the stick, so it is relatively smooth and will not knock and scrape the child’s legs/thighs when riding. Ensure stick is smooth.

wpid-IMGP4186-2010-04-6-10-04.jpg
• Take your old woolen sock. If there is holes at the toes or heels – darn around these in a bright and colourful yarn (sari silk works well) – these will create nostrils (the toe holes) and a space for inserting a unicorn horn (heel holes)

wpid-IMGP4180-2010-04-6-10-04.jpg
• Begin to stuff firmly, the sheep’s wool into the top of the sock (toe area). Once you are around the heel area – insert the stick end that will be at the top (head area) of the hobby horse. Wedge it up into the stuffing and be sure the top point of the stick does not poke out anywhere onto the sock without stuffing around it.

• Continue stuffing the head – around the stick – forming the shape of the head as you stuff and ensuring the stick stays in the middle of the sock.

wpid-IMGP4192-2010-04-6-10-04.jpg
• When the head is stuffed firmly (always use the golden stuffing rule of ‘when you think you are done – add one more piece!’), leave the ‘cuff’ of the sock free from stuffing, so you will have a ‘skirt’ of empty un-stuffed sock around the bottom. Sew a running stitch around the cuff, just under where the stuffing finishes and then pull this tight to draw the cuff in – sealing in the stuffing. Be sure to keep this tight as you tie off to seal and finish nicely the head shape/filling.

wpid-IMGP4193-2010-04-6-10-04.jpg

wpid-IMGP4196-2010-04-6-10-04.jpg

• Tie this off and bring the thread through to the underside to cut off – leaving a neat outer to the finishing.

wpid-IMGP4194-2010-04-6-10-04.jpg
• Wrap tightly a piece of yarn many times around – over and under the area where you tied off the head – this further secures the head.

wpid-IMGP4197-2010-04-6-10-04.jpg

• You should now have the horse head shaped and the head firmly and securely held on the stick.

wpid-IMGP4198-2010-04-6-10-04.jpg
• Select two large wooden beads that look like ‘eyes’

wpid-IMGP4209-2010-04-6-10-04.jpg
• Position these on either side of the head and sew on with embroidery floss. Knot off by securing the thread and then looping and knotting the thread around the bead and drawing the knot in under the bead.

wpid-IMGP4210-2010-04-6-10-04.jpg
• Pull the floss through the under of the sock and pull tightly – clip and then the end will disappear back into the head. It is better than cutting close to the knot – if you do this, the thread can slip undone easily and the eye will fall off.

wpid-IMGP4200-2010-04-6-10-04.jpg

• Hold a corner of the wool felt folded over like an ear – on the side of the head and form the shape needed for the ear – cut two as needed.

wpid-IMGP4201-2010-04-6-10-04.jpg

• You will have a shape that looks something like this. If you had holes in the heel and are making a ‘hobby unicorn’ – then cut a similar shape that can be formed into a cone, sewn, stuffed and fixed into the heel hole.

wpid-IMGP4212-2010-04-6-10-04.jpg
• Blanket stitch the ends together that will be fixed to the horses head.

wpid-IMGP4211-2010-04-6-10-04.jpg
• Sew the ears to the side of the head in the appropriate places.

wpid-IMGP4221-2010-04-6-10-04.jpg
• This picture gives you an idea of positioning for eyes and ears.

wpid-IMGP4202-2010-04-6-10-04.jpg
• Decide an appropriate length for the mane and cut a bunch of yarn threads to this approximate length.

wpid-IMGP4208-2010-04-6-10-04.jpg
• A mix of yarns gives an interesting result and I always like to use sari silk in the mix.

wpid-IMGP4223-2010-04-6-10-04.jpg
• Use a medium gauge crochet hook to insert through the sock knit and hook the yarn for the mane – bringing the center of the yarn piece back through the sock.

wpid-IMGP4224-2010-04-6-10-04.jpg
• Slip the two ends of the yarn through the loop created by folding the yarn piece in half – pull tightly to secure.

wpid-IMGP4225-2010-04-6-10-04.jpg
• I always do a centre mane strip, then strip either side of the centre strip. Any few left over pieces of yarn I add between the centre, left and right runs – at the top of the mane for a ‘fuller’ look. The mane length can be trimmed once completed if necessary.

wpid-IMGP4226-2010-04-6-10-04.jpg
• Finger knit a long length to sew onto the head as reins and a holster.

wpid-IMGP4231-2010-04-6-10-04.jpg
• This picture gives you an idea of the pattern we use for the holster. I go from just under one eye, up on a slight angel to just under the ear, up across the head, to below the other ear point, down to under the eye, straight along to the ‘cheek’ area, up and across the nostril area (behind the nostrils if you have nostrils) and back along to the starting point. I secure each point by sewing with embroidery floss – the finger knitting to the sock. From the ending point – I loop the left over yarn down around the back of the neck/mane to sit over the stick and be reins for the rider to hang on! The loose ends, at the start and finish point I tie up diagonally to the nostril space.

wpid-IMGP4228-2010-04-6-10-04.jpg
• At the start and finish points of the holster – I fix metal bells. If I have a unicorn horn, I fix a tiny bell to the top of that as well.

This hobby horse was made as a birthday gift for a relative. We gave the horse a test ride to make sure he rode well! (We like to use the italicised verse, we learnt at our local playgroup, to gallop around to. ‘Yankee Doodle’ is also a favourite galloping song on our farm.)

wpid-IMGP4237-2010-04-6-10-04.jpg

“Come my pony and gallop, gallop, gallop;

wpid-IMGP4242-2010-04-6-10-04.jpg

Come my pony and gallop – gallop with me…

wpid-IMGP4241-2010-04-6-10-04.jpg

Now whoa – whoa – whoa!”
(We sing this in various speeds – quick/slow etc to adjust the riding and galloping pace!)

I hope you have enjoyed this tutorial and the photo’s and instructions have been clear and easy to understand – Enjoy creating and have many hours of ‘horsing around’ creative play fun!

Filed Under: Handwork Tagged With: hobby horse diy, hobby stick horse tutorial, how to make a hobby horse, how to make a hobby horse with a sock, make a stick horse

  • Email
  • Instagram
  • Pinterest
  • RSS

about us 2

In a little cottage on the side of a hill in Southern Tasmania is where the song of this story is sung. Once a place where sheep grazed, this home is now a retreat for pademelons, bandicoots, echidnas, and our family. Originally from the East Coast of New South Wales we traded hectic highways for a calmer, more meaningful pace of life.
I'm Elke and together with my husband Graham - we strive to live conscious, grounded and joyful lives as we share the privilege of walking along a parenting path with our two precious children; Chilli and Marlin.

Copyright © 2025 Another Day | Terms of Use | Privacy Policy | Disclaimer